基础修改
修改 _config.yml,写上网站的标题
title:
subtitle:
description:
选择主题
theme: next
hexo 插件
字数统计和阅读时长统计
https://github.com/theme-next/hexo-symbols-count-time
在 _config.yml 中添加
symbols_count_time:
  symbols: true
  time: true
  total_symbols: true
  total_time: true
  exclude_codeblock: false
  awl: 4
  wpm: 275
  suffix: "mins."
在Next主题中的 _config.yml中添加
symbols_count_time:
  separated_meta: true
  item_text_post: true
  item_text_total: true
git 部署
在你的github账户上创建仓库yourusername.github.io,必须是用户名开头命名,否则github page不会生效。
首先生成个人公私钥
cd
ssh-keygen -t rsa -C "[email protected]"
然后将公钥粘贴进github账户的个人设置里面
ssh -T [email protected]
git config --global user.name "username"
git config --global user.email "email"
在博客目录下下载:
npm install hexo-deployer-git --save
修改网站根目录下的_config.yml文件
deploy:
  - type: git#注意git的前面要加空格否则不生效
  	repo: https://github.com/example/example.github.io.git
  	branch: master
保存退出后执行命令:
git config --global user.email "[email protected]"
git config --global user.name "Your Name"
hexo d #部署
也可以部署到个人网站上面,需要用到git hook,可以去参考别的博客
deploy:
  - type: git
    repo: [email protected]:blog.git
    branch: master
  - type: git
    repo: [email protected]:xxx/xxx.github.io.git
    branch: master
Next 主题定制
主页:https://github.com/theme-next/hexo-theme-next
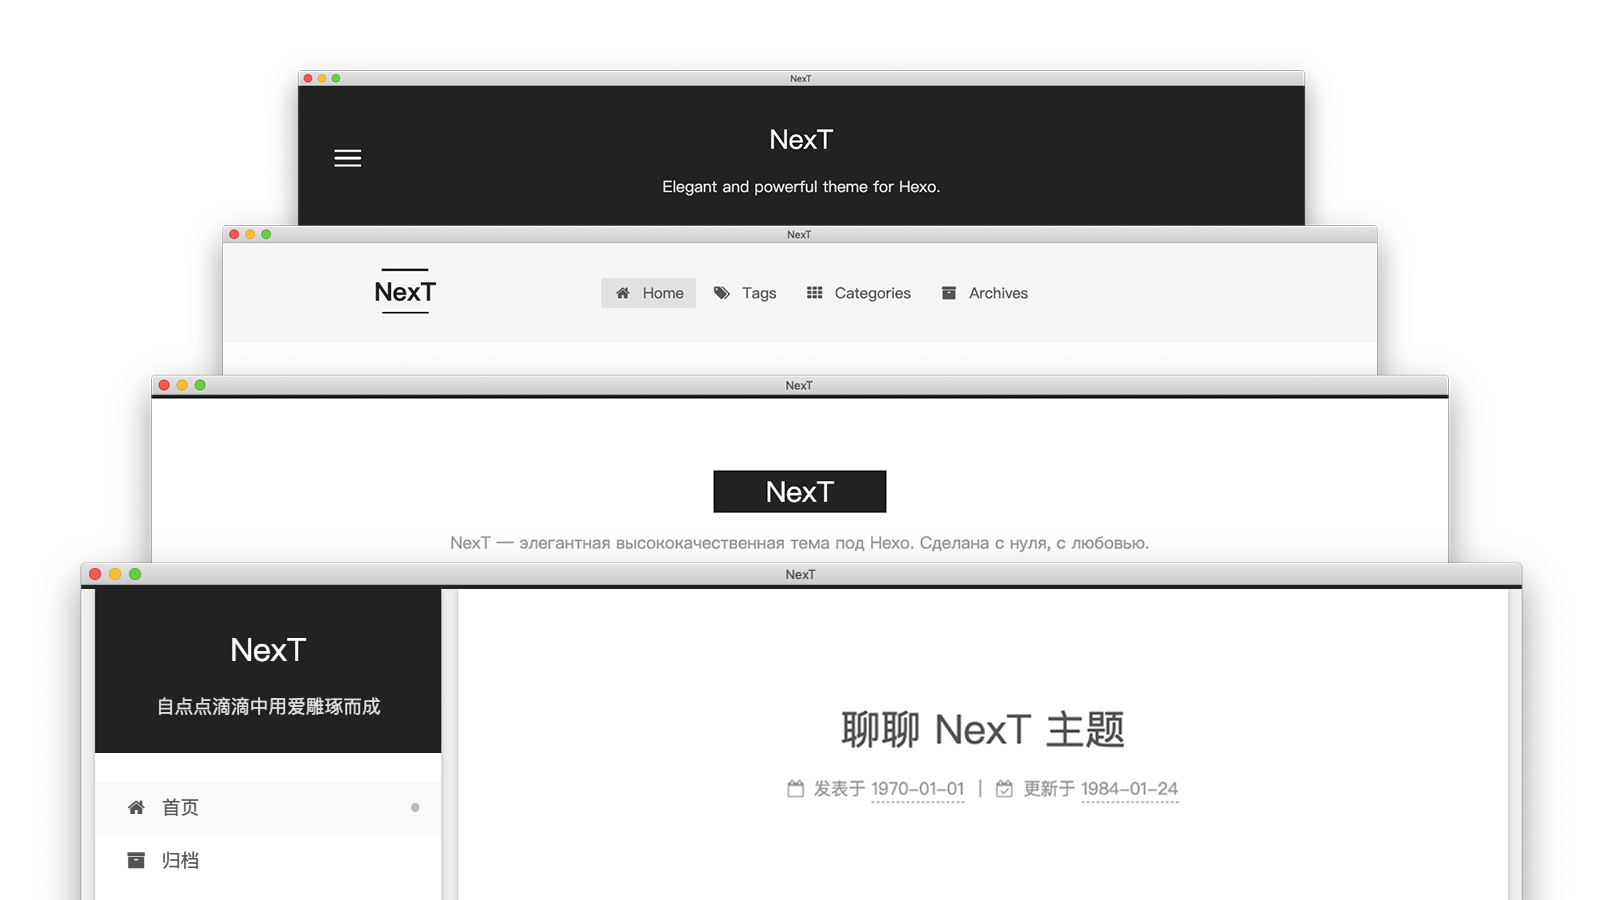
主题选择
进入hexo-theme-next目录下的_config.yml文件,依据个人偏好修改风格:
# Schemes
# scheme: Muse
# scheme: Mist
# scheme: Pisces
# scheme: Gemini
# 选择一个喜欢的,去掉#即可
启动下面的darkmode,这样网页会随着浏览器
友链
在主题的_config.yml文件里面的link项目里面设置即可。
顶部加载条
主页 https://github.com/theme-next/theme-next-pace
git clone https://github.com/theme-next/theme-next-pace source/lib/pace
然后_config.yml中选择
# Progress bar in the top during page loading.
# Dependencies: https://github.com/theme-next/theme-next-pace
# For more information: https://github.com/HubSpot/pace
pace:
  enable: true
  # Themes list:
  # big-counter | bounce | barber-shop | center-atom | center-circle | center-radar | center-simple
  # corner-indicator | fill-left | flat-top | flash | loading-bar | mac-osx | material | minimal
  theme: corner-indicator
自定义图标
https://www.easyicon.net/language.en/iconsearch
下载32的,然后放在主题文件中的images文件中,在配置中搜索favicon并修改
头像
将喜欢的头像放在images里面然后在配置中搜索avatar并修改
社交链接
social:
  GitHub: https://github.com/ch4ser-go || fab fa-github
  E-Mail: mailto:[email protected] || fa fa-envelope
  Telegram: https://t.me/darkch4ser || fab fa-telegram
  RSS: /atom.xml || fa fa-rss
暗黑模式持久化
修改 themes/next/source/css/_colors.styl
if (hexo-config('darkmode')) {
    :root {
      --body-bg-color: $body-bg-color-dark;
      --content-bg-color: $content-bg-color-dark;
      --card-bg-color: $card-bg-color-dark;
      --text-color: $text-color-dark;
      --blockquote-color: $blockquote-color-dark;
      --link-color: $link-color-dark;
      --link-hover-color: $link-hover-color-dark;
      --brand-color: $brand-color-dark;
      --brand-hover-color: $brand-hover-color-dark;
      --table-row-odd-bg-color: $table-row-odd-bg-color-dark;
      --table-row-hover-bg-color: $table-row-hover-bg-color-dark;
      --menu-item-bg-color: $menu-item-bg-color-dark;
      --btn-default-bg: $btn-default-bg-dark;
      --btn-default-color: $btn-default-color-dark;
      --btn-default-border-color: $btn-default-border-color-dark;
      --btn-default-hover-bg: $btn-default-hover-bg-dark;
      --btn-default-hover-color: $btn-default-hover-color-dark;
      --btn-default-hover-border-color: $btn-default-hover-border-color-dark;
    }

    img {
      opacity: .75;

      &:hover {
        opacity: .9;
      }
    }
}
修改主题配置文件,修改codeblock
codeblock:
  # Code Highlight theme
  # Available values: normal | night | night eighties | night blue | night bright | solarized | solarized dark | galactic
  # See: https://github.com/chriskempson/tomorrow-theme
  highlight_theme: night eighties
  # Add copy button on codeblock
  copy_button:
    enable: true
    # Show text copy result.
    show_result: true
    # Available values: default | flat | mac
    style:
license 添加
修改next主题配置文件
# Creative Commons 4.0 International License.
# See: https://creativecommons.org/share-your-work/licensing-types-examples
# Available values of license: by | by-nc | by-nc-nd | by-nc-sa | by-nd | by-sa | zero
# You can set a language value if you prefer a translated version of CC license, e.g. deed.zh
# CC licenses are available in 39 languages, you can find the specific and correct abbreviation you need on https://creativecommons.org
creative_commons:
  license: by-nc-sa
  sidebar: false
  post: true
  language:
然后修改博客目录下的_config.yml,加上自己的url
url: http://www.ch4ser.top
图床问题
以前都是用github的图床, 现在直接放在本地了
我是在source下面新建了一个images文件夹, 然后在所有文章的开头都加上typora-root-url: ../, 同时在偏好里面设置图片存储位置为../images/${filename} , 这样子typora在插入图片的时候就会把他放在/source/images下面的对应文章文件夹下面了, 同时勾选使用相对路径。再也不用图床啦.
